


How to Sharpen Bypass Pruning Shears Without Damaging the Cutting Edge
Bypass pruning shears should cut branches cleanly, without crushing them or tearing the bark. Over time, even a high-quality Japanese blade loses its sharpness, and sharpening becomes necessary to restore a clean cut.
However, sharpening bypass pruning shears is different from sharpening an ordinary knife. The cutting blade has a specific factory geometry, and using a sharpening stone incorrectly can damage it and reduce cutting performance, even on an expensive tool.
In this article, we will explain how to choose the correct pruning shear sharpening angle, restore the cutting edge, and use Japanese Naniwa water stones for regular maintenance.

How a Bypass Pruner Blade Is Designed
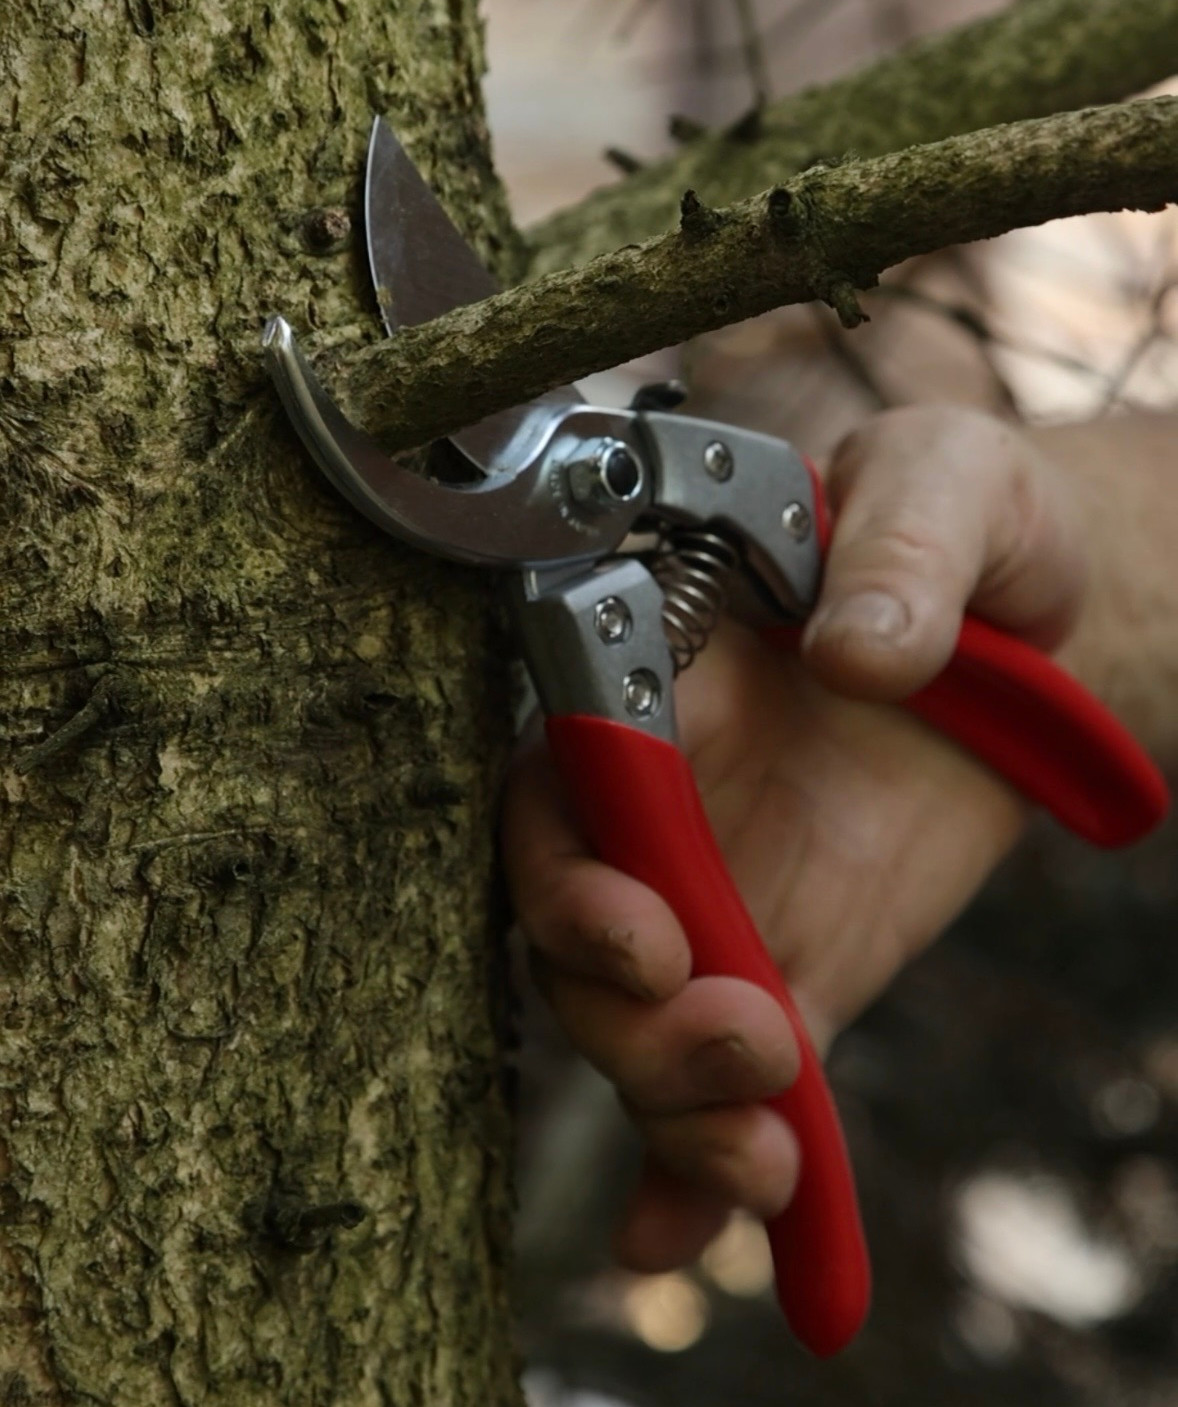
Bypass pruning shears have two working components: a sharp cutting blade and a counter blade that supports the branch. When the handles are squeezed together, the blades pass close to each other, much like scissors.
This is why sharpening bypass pruning shears requires preserving the original geometry of the cutting edge.
The main cutting blade has a beveled surface that forms the sharpening angle. This surface is called the bevel. On most bypass pruning shears, this is the side that should be sharpened.
The opposite side of the cutting blade is relatively flat. It should not be sharpened at a separate angle, otherwise the correct contact between the blades may be affected.
The counter blade should not be sharpened as though it were a second cutting blade.
If the geometry of both sides is changed, the pruner may start crushing plant tissue, cut thin shoots less effectively, or require more force to operate.

What Is the Correct Sharpening Angle for Pruning Shears?
One of the most important questions when maintaining a tool is which sharpening angle to use.
On many bypass pruning shears, the factory bevel is approximately 20 to 25 degrees. However, this is not a universal value for every manufacturer and model.
The main rule is to preserve the angle set by the manufacturer. Do not create a new bevel unless it is necessary.

An angle that is too obtuse can make it harder for the blade to enter the wood cleanly. An angle that is too acute produces a thinner cutting edge that may be more vulnerable when cutting hard branches.
To identify the factory angle, inspect the blade in good lighting. The beveled surface is usually visible from the way it reflects light. The sharpening stone should rest against this bevel, not against the main flat surface of the blade.
If the angle is difficult to identify visually, carefully color the bevel with a thin layer of marker ink. After one or two light strokes with the stone, check where the ink has been removed. If it disappears evenly across the entire width of the bevel, you are probably holding the correct angle. If the ink comes off only near the upper or lower edge of the bevel, adjust the position of the stone.
Do not try to correct the angle by applying more pressure. Accuracy and consistent movement are more important.

What Tools Do You Need for Sharpening?
For sharpening bypass pruning shears, choose a stone according to the condition of the cutting edge. If the blade has become noticeably dull and lost its sharpness, a coarser abrasive may be needed. For routine maintenance, a finer-grit stone is more suitable.
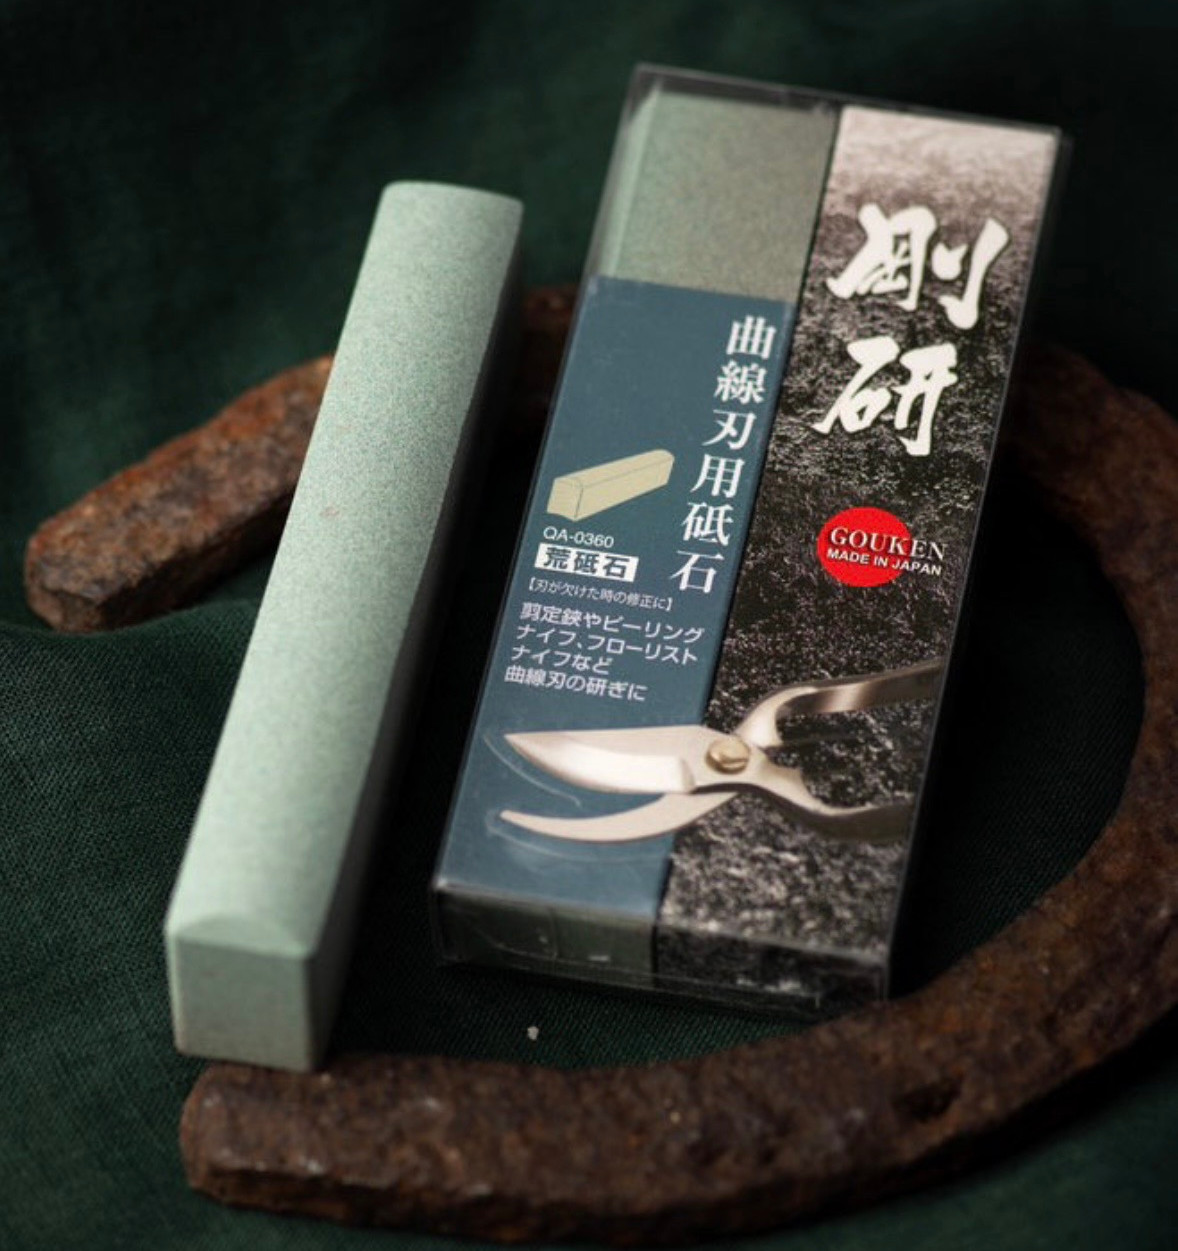
Naniwa #220 grit: for a dull blade
The Naniwa #220 grit water stone is intended for restoring the cutting edge when the pruner has become very dull and no longer produces a clean cut.
The #220 grit removes metal faster than a #1000 stone, but it also removes more material. Therefore, it should not be used for every routine sharpening session. If the pruner has lost only a little of its sharpness, it is better to start with a #1000 stone.
Work carefully with light pressure, preserving the existing factory sharpening angle. Do not try to change the shape of the cutting edge or remove more metal than necessary.
Naniwa Water Stone #1000: for maintaining sharpness

The Naniwa #1000 water stone with a concave side is suitable for regular sharpening and restoring the blade's working sharpness.
Its curved working surface is convenient for sharpening the cutting blade of bypass pruning shears. It helps follow the curve of the cutting edge while preserving the factory geometry.
If you needed to use a #220 stone to restore a very dull edge, you can follow it with a #1000 stone to refine the cutting edge and achieve a cleaner finish.
Prepare the water stone according to the manufacturer's instructions before use. Maintain the required moisture on the stone's surface while sharpening.
What Else Do You Need?
To prepare the pruner, you may need a product for removing plant sap and dirt. After sharpening, camellia oil can be used to help protect metal surfaces against corrosion.
The cleaner helps remove dirt and plant residue, but it is not a rust remover. Apply camellia oil in a thin layer to a clean, dry tool.

How to Sharpen Bypass Pruning Shears
1. Clean the Blade
Before sharpening, remove plant sap, dirt, and other residue from the blade. If the surface is dirty, the stone will not make proper contact with the metal, making the sharpening process harder to control.
2. Secure the Pruner
Hold the tool securely so that the blade does not move while you work. Keep your fingers clear of the cutting edge and never direct the sharp edge toward yourself.

3. Identify the Factory Sharpening Angle
On bypass pruning shears, the main cutting blade is sharpened on one side. Before you begin, identify the existing bevel and preserve its angle.
Do not rely on a universal sharpening angle for every pruner. The geometry depends on the specific model, so the safest reference when sharpening a tool in good condition is its original cutting edge.
4. Choose a Stone According to the Blade's Condition
If the cutting edge has become very dull and lost its working sharpness, start with Naniwa #220 grit. Work without excessive pressure and remove only as much metal as necessary to restore the edge.
If the blade is only slightly dull, use Naniwa #1000. Moving from #220 to #1000 allows you to refine the cutting edge more finely.
5. Move the Stone Along the Cutting Edge
Follow the bevel, tracing the curve of the blade and maintaining the existing angle. Do not change the tilt of the stone as you move, and do not apply excessive pressure to individual sections.
With a curved blade, it is especially important to sharpen the entire edge evenly. Do not try to remove too much metal in a single pass.

6. Check the Edge and Remove the Burr
A small burr may form on the opposite side of the cutting edge during sharpening. Check the result carefully, without running your finger along the blade.
After sharpening the bevel, gently remove the burr from the flat side of the blade. Very light contact with the stone is sufficient. Do not sharpen the flat side in the same way as the bevel, as this can change the geometry of the cutting edge.
7. Check the Result and Protect the Tool
After sharpening, clean off any abrasive residue, wipe the blade dry, and test the pruner on a suitable branch. The cut should be clean, without noticeable crushing of the plant tissue.
If the result is not satisfactory, first check whether the edge has been sharpened evenly and the factory angle has been preserved. Do not compensate for a poor result by applying more pressure or removing metal uncontrollably.
Finally, apply a thin layer of camellia oil to the clean metal surfaces. This will help protect the tool against corrosion during storage.
Common Mistakes When Sharpening Bypass Pruning Shears
Using a #220 stone too frequently. A coarse abrasive removes more metal. Use it to restore a severely dulled edge, not for every routine sharpening session.
Changing the factory angle. Do not create a new bevel or sharpen the entire blade at an arbitrary angle. This may impair cutting performance and alter the tool's geometry.
Sharpening both sides equally. On bypass pruning shears, the main sharpening is performed on the beveled side of the cutting blade. The flat side should be treated very lightly and only when necessary to remove a burr.
Applying too much pressure. This makes it harder to control the angle and can lead to uneven sharpening. Work calmly, using short, controlled strokes.
Sharpening without cleaning the blade. Remove plant sap and dirt first so that the stone contacts the metal rather than the residue.


Comments